I am now almost certain that we need more radiation for better health. John Cameron, pioneer in the field of medical physics
People often think of radiaoactivity as a boogeyman because of its invisibility, odorlessness, and association with nuclear weapons and accidents. Radiation can be extremely harmful, and even life- threatening, when humans are exposed at unsafe levels. Most people are aware of the horrors of Hiroshima and incidents like the 1986 explosion at the Chernobyl Nuclear Power Plant.
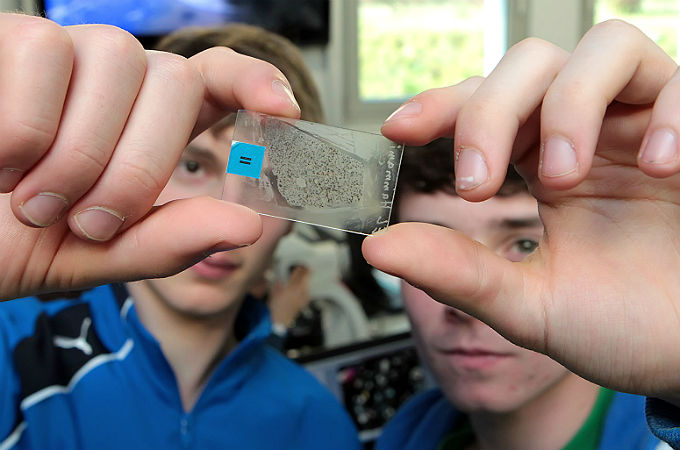
But the many benefits of radioactivity are less well known. Several years ago my father had yttrium-90 (Y-90) therapy to treat a small tumor on his liver. Atoms of this radioactive beta emitter are embedded in tiny glass spheres that are about the size of a grain of powdered sugar. A catheter tube is inserted into the body through an incision near the groin and the glass spheres are guided through blood vessels to the tumor. Once they are deposited at the site of the tumor, energy emitted from the Y-90 nuclei in the form of beta particles (high energy electrons) kills the cancer cells. Because Y-90 decays to stable zirconium-90 with a relatively short half-life of 64.2 hours, there is no need to remove the glass beads from the patient. Although surgery may still be necessary at a later date, this treatment has been known to increase a person’s life expectancy by up to three years.
This stands in stark contrast to the case of Alexander Litvinenko, a former Russian intelligence officer who defected to the United Kingdom in 2000. On November 23, 2006 Litvinenko passed away from polonium-210 (Po-210) poisoning. Litvinenko had met with two Russian ex-KGB agents for tea at the Pine Bar of the Millennium Hotel three weeks earlier in London. That same day Litvinenko fell ill and never recovered. Investigations into his death found that the tea he drank at the Pine Bar was laced with the deadly radioactive element Po-210. The alpha particles emitted during the decay of Po-210 can not penetrate the skin but once inside the body, these charged particles can destroy DNA in living cells, killing them or causing mutations that can lead to cancer many years later. UK inquiries concluded that Russia was responsible for Litvinenko’s assassination.
Many devices, processes and treatments use radiation for beneficial and life-saving purposes. Millions of people around the world depend on medical imaging to detect disease and radiation for treatment. The U.S. Environmental Protection Agency lists the following examples of the useful purposes of radiation: irradiation (used to kill bacteria in food and on medical tools and devices), diagnostic nuclear medicine, nuclear energy, moisture and density nuclear gauges (used to construct stable and safe roads and highways), navigation beacons and buoys, security screening devices, radiation testing and protection devices, ionizing smoke detectors and devices used to test for leaks or cracks in pipeline and aircraft parts.
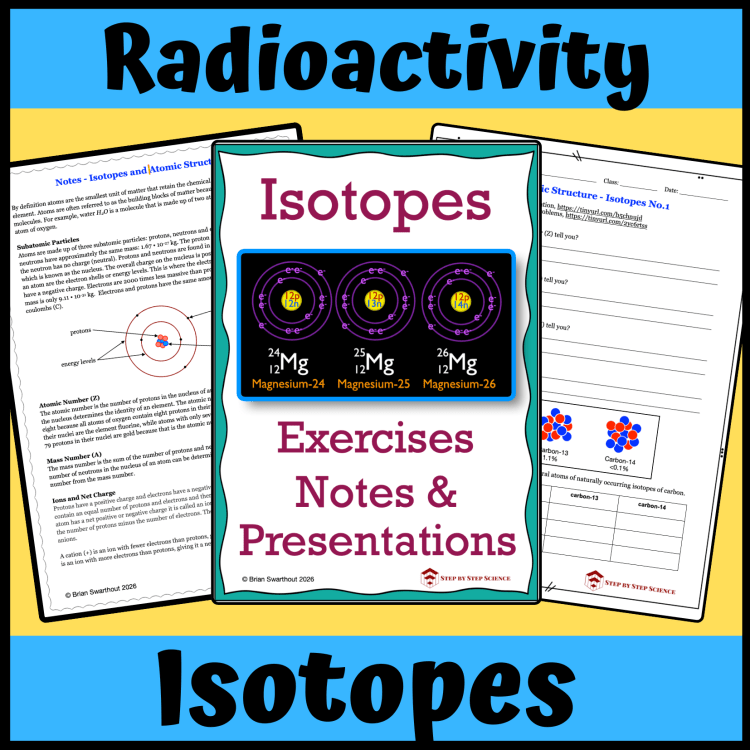
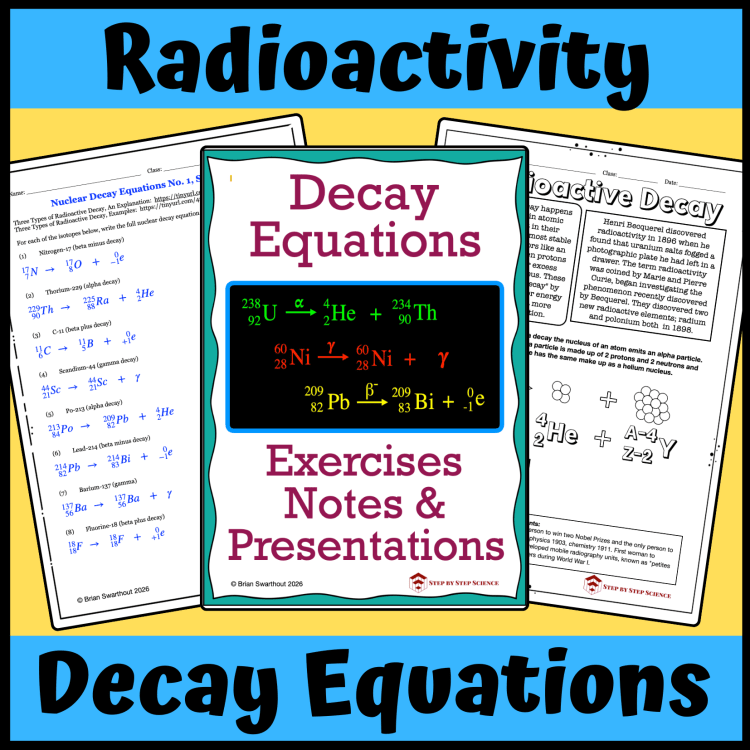
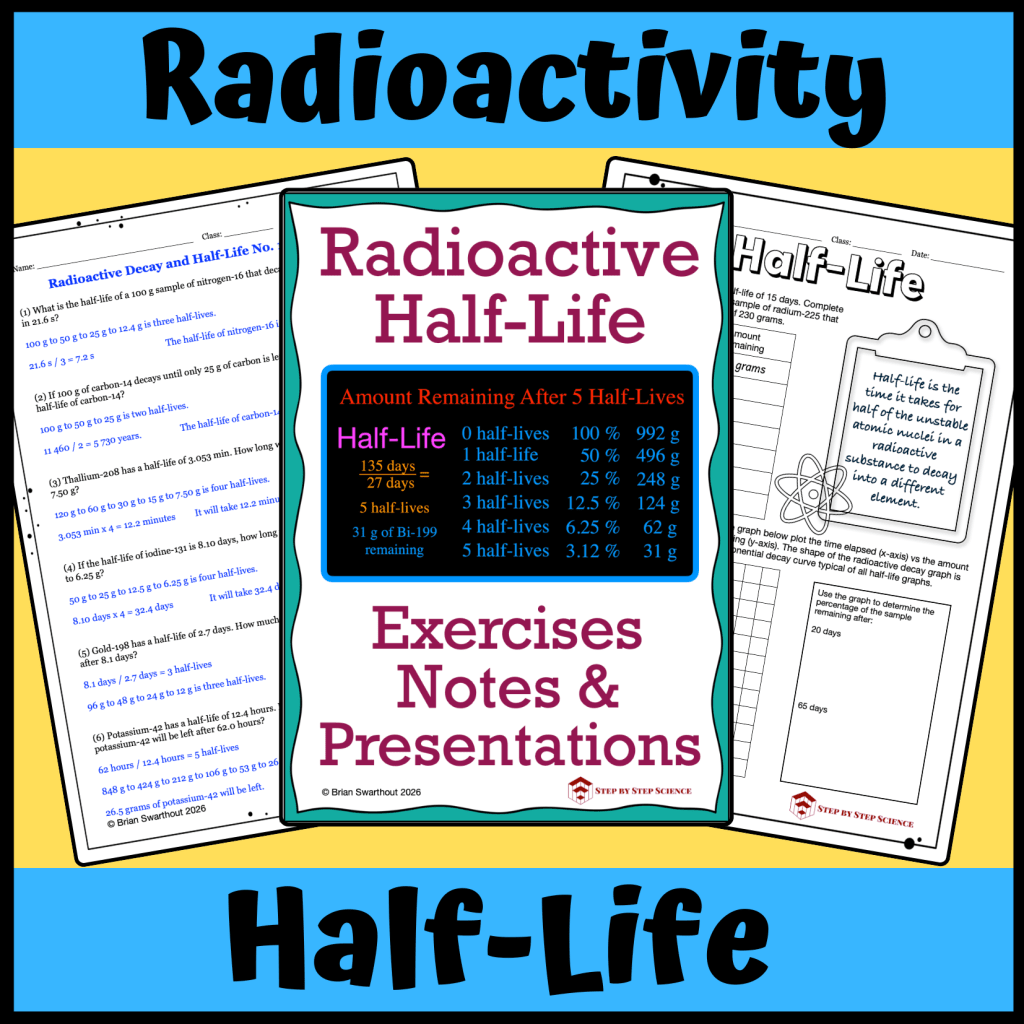
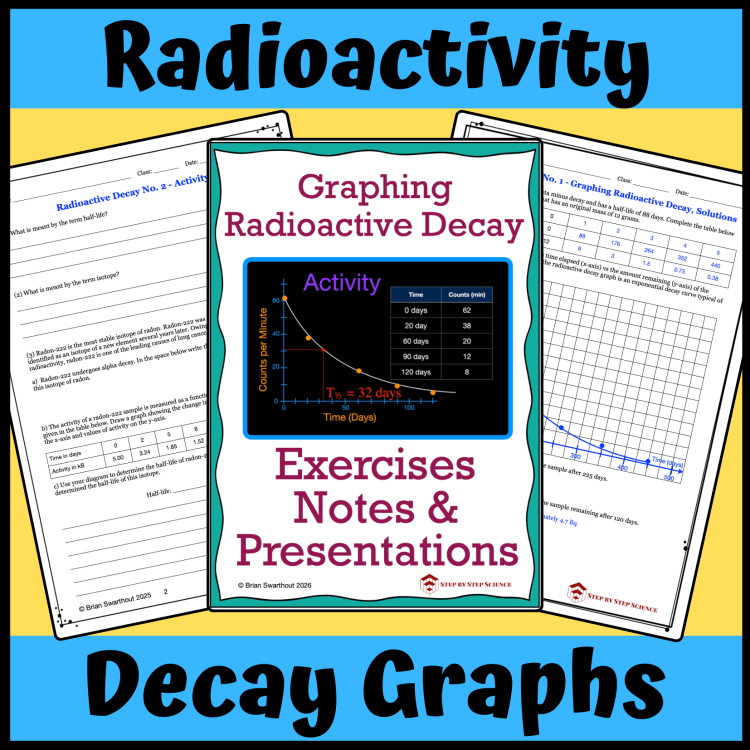
We’ve been hard at work on a Nuclear Physics Radioactivity bundle that teachers can use to help students confront the radioactivity boogeyman and enhance their understanding of this complex topic. The bundle will cover isotopes and atomic structure, decay equations, radioactivity half-life, decay graphs, and decay law. Notes, worksheets, presentations and assessments for each of these topics will support in-class and distance learning. The first four resources in the upcoming bundle are now ready and can be accessed through the image links below.
Our Decay Law resource and a full set of Quizzes and Tests will be available next, after which we’ll bundle these resources together and offer them at a discount. Everything you need to help students develop a deeper appreciation of the benefits and risks of radioactivity!