One of my favourite things about being a physics teacher is doing demonstrations and experiments with my students. Why start a lesson with a lecture when you can arouse your students’ curiosity by bringing scientific principles to life right before their eyes? I like to start with a provocative question like:
How can you pick up a bottle filled with rice by using just one wooden skewer?
You might get some silly answers, but you’ll also see their brains start to click.
The beginning of the school year is an especially important time to spark your students’ interest in science. You’ll find many great ideas online, but they don’t always explain how to set up the experiment or the science behind it. That’s where our next Making YOU the Scientist video comes in. These physics challenges require few materials, are easy to set up, and will bring out the inner scientist in your kids and students.
Watch the video to see the five activities that introduce concepts such as the force of friction, the center of mass, adhesion and cohesion, and Newton’s laws of motion. I hope you enjoy these demonstrations and if you have any questions about how to do them at home or school, don’t hesitate to get in touch.
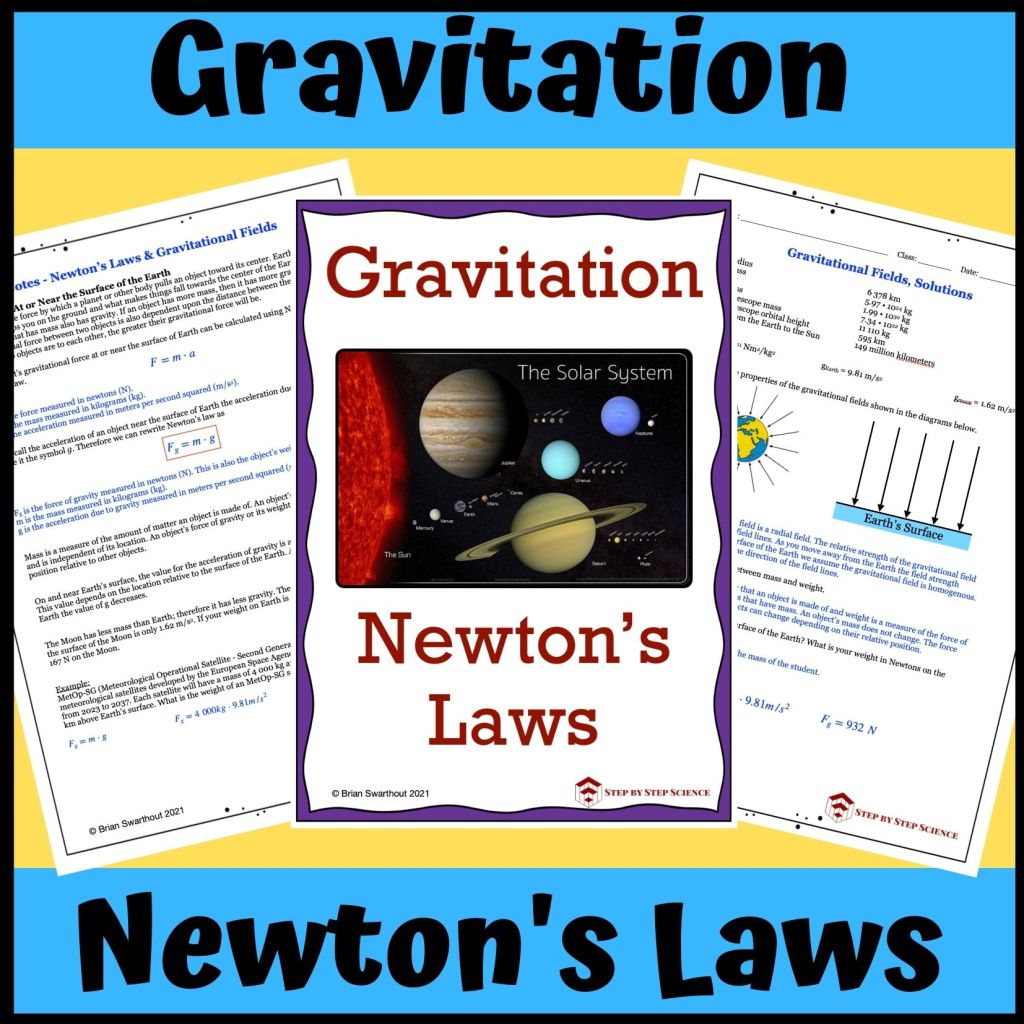
What can you always depend on, but will always let you down? Gravity! But in fact, gravity will never let you down as a topic of interest for your physics students. That’s why Step by Step Science has created some great new teaching resources on gravity over the summer.
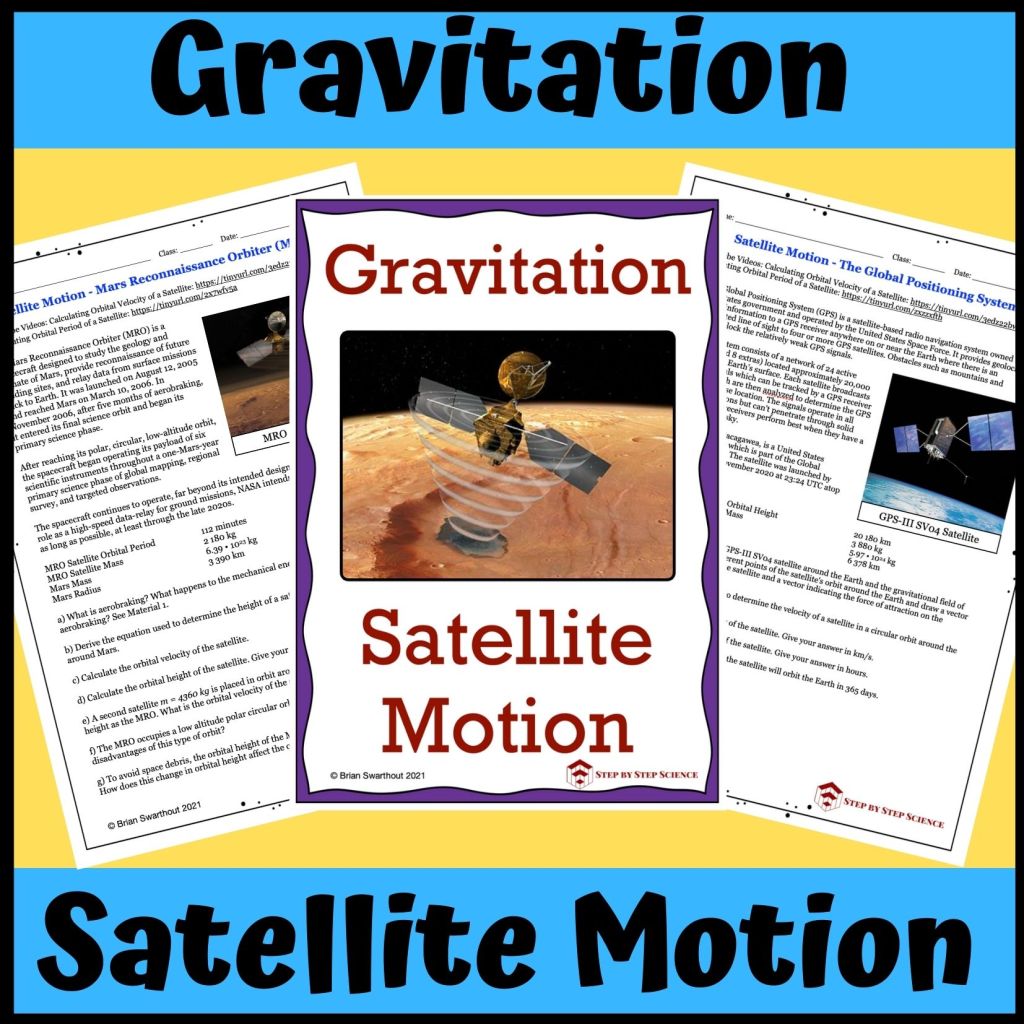
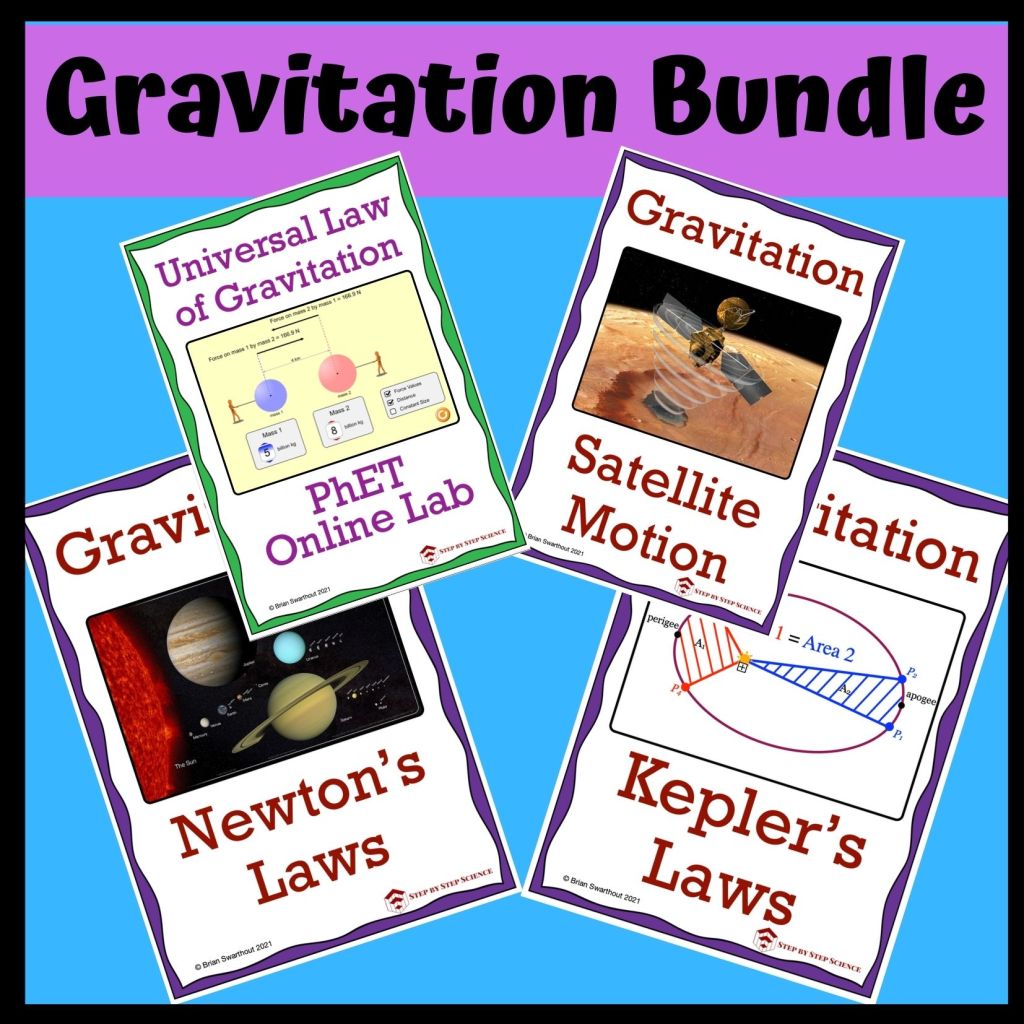
Gravitation and satellite motion are concepts that affect our lives in ways we rarely think about. Why does the Earth go around the Sun? What is gravity? Where is the International Space Station and how fast is it traveling through space? Here’s an overview of the new gravity lessons in our Teachers Pay Teachers store. These resources include everything you need to give your students a better understanding of the motion of the objects that surround them. These lessons are available individually or at a discount in our Gravitation bundle.
Our PhET online lab resources continue to be the most popular instructional materials we offer. As I wrote in a previous post, students enjoy these activities because they are visual, intuitive and make connections to real world situations. To go along with the summer’s gravitation theme, our latest PhET simulation resource is on Newton’s Law of Universal Gravitation. We’ll be adding quite a few more of these simulation resources in the coming months.
Our Step by Step Science YouTube channel includes a gravitation playlist that contains educational videos explaining each of the topics in these instructional materials. Each exercise sheet also includes links to the videos that describe how to solve the problems that are included. A great resource for distance learners and students who need additional help.
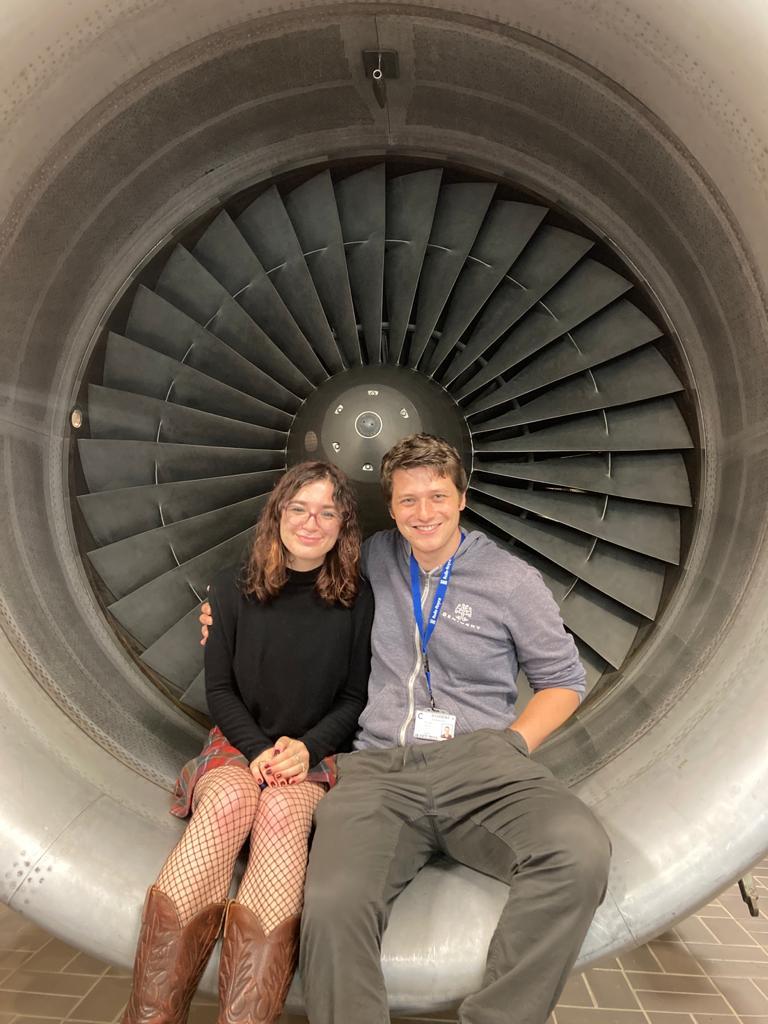
The summer wasn’t all work and no play. I had the chance to visit our son Avery who recently began a PhD program in aerospace engineering at Cranfield University. Our daughter Olivia came down from Glasgow for a fun weekend of checking out the aviation wonders on the campus, visiting Cambridge, and exploring the English countryside. Here’s the two siblings sitting inside a Rolls Royce RB211 high bypass turbofan, one of the most successful engines of its generation (1969-1997). Avery is working on a new generation of civilian aircraft propulsion with support from Rolls Royce and the European Union.
The Euro 2020 tournament has been a highlight of our summer so far, especially since we’ve got a serious soccer player in the family. We live in Berlin so we were rooting for Germany until they got knocked out by England in the round of 16.
There are so many physics lessons to be learned from soccer, so why not turn some of that watching and playing time into a short lesson?
In high school physics there are many opportunities to use soccer to spark students’ interest in studying the laws of energy and motion. Projectile motion, conservation of energy, Newtons laws of motion, and the Magnus effect are just a few of the concepts that players unknowingly use while plying their craft.
In today’s post we examine how to solve two different problems when the launch angle and distance are given:
(1) What initial velocity is needed to hit the center circle from the top of the goalie’s box?
(2) What initial velocity is needed to hit the crossbar from the edge of the center circle? See diagram below.
In both cases there are two unknowns, the time in the air t and the initial velocity vi. Therefore we will need two equations to solve these problems.
The first equation comes from deconstructing the initial velocity vector into its x and y components as shown below:
vix = cos Θ • vi
viy = sin Θ • vi
Because there is no acceleration in the x direction, we can use the standard velocity equation to come up with an equation for the time in terms of the initial velocity.
vix = x/t
t = x/vix
Substituting the equation for the x component of the initial velocity yields an equation for the time in terms of the initial velocity:
t = x/cos Θ • vi
The second equation is one of my favorite kinematic equations:
Δy = vi • t + ½ • a • t2
Substituting equation 1 into equation 2 we will have a single equation with one variable, our unknown: vi.
Still unclear about these concepts? Check out our YouTube video to see if Sam can hit the crossbar and for a complete step-by-step explanation for determining the initial velocity needed to do so.
And don’t miss the penalty shootout between the father and son to see who wins bragging rights.
The first videos in January of 2010 were on radioactivity, fission, and fusion. The 500th video completes a series on simple machines. In between, Step by Step Science has explained physics, chemistry and math to students of all ages around the world in short videos that guide them through the concepts, equations and formulas that they need to know to succeed in school.
Here are some of our most popular playlists, with selected videos and user comments.
Optics: Ray Diagrams, Reflection, Refraction, Thin Lens Equation: Topics include reflection, refraction, index of refraction, total internal reflection and the thin lens equation. This is the video series that made me realise it’s best to explain how to solve physics problems in a step by step manner. For lenses and mirrors there are about twenty different ray diagrams that students need to be able to draw. It might sound like a lot, but really they are all drawn the same way. The first ray enters the lens or mirror parallel to the principal axis and exits through the focal point and then the second ray is just the opposite — it enters through the focal point and exits parallel to the principal axis. If you can master those two steps then you are 90% there.
this is amazing! thank you for doing this!!! it really helped me with my test!! i received an A+!!!!!!!!!!!!!!!!!!
Chemical Reactions and Stoichiometry: Covers the five types of chemical reactions and stoichiometry. The beauty of video is that students can see the wonder of chemical reactions from any place in the world. Each of these videos contains a detailed explanation of the chemical reaction and one or more demonstrations showing the type of reaction taking place. Bringing the chemical reactions to life makes a powerful impression on students.
ALL OF YOUR CHEMICAL REACTION VIDEOS HAVE BEEN SO HELPFUL!!! I am not exaggerating, you have saved my life.
RC and RL Circuit Analysis: All you need to know about resistors in combination with capacitors and inductors in DC circuits. How to calculate voltage, current, capacitance and inductance. This is a very confusing topic for many students. Therefore, it is important to start at the beginning: What is meant by time equals zero seconds? When is time equal to zero seconds? From there, build up the students’ understanding, one step at a time.
this 7 min video answered more questions than all the others combined – such a well done video !! 🙂
Linear Equations: Step by step approach to writing, graphing and solving linear equations. I made this series a few years ago when I was teaching math to eighth graders. Now they have become some of my most popular videos. I am sure it is because I clearly go through the steps students must execute to solve problems for linear equations. Students want to learn, they just need someone to show them how to do it step by step.
your explanation is awesome! I never understood this topic until I saw your simplest step by step video. Thank you.
These playlists and videos have one thing in common: they break down problems and concepts into their most basic components and build student understanding through step by step explanations. Nearly all videos are under 15 minutes and fill gaps for students who may have missed class or are missing content from their teachers or textbooks.
Thank you for your support and all the great comments over the past years. I am looking forward to making the next 500 videos! And we will see you in the next video.
Do you need a great activity for teaching your kids or students about the scientific process? The Sink or Swim experiment is a fun way to help students develop skills in measurement, calculation and estimation. They will also learn about the concept of density while determining whether an object will sink or float.
Wikimedia Commons
Density is defined as the amount of mass per unit of volume, i.e. the grams of mass per cubic centimeter of volume. Water has a density of 1.00 g/cm3. Objects that have a density greater than 1.00 g/cm3 will sink, while objects that have a density less than 1.00 g/cm3 will float.
The goal is to get a can to sit as low as possible in a container of water without sinking. Besides the container of water and some empty cans, all you need are a scale, some sand, and a ruler. Our Making YOU The Scientist video walks you through the steps to determine how much sand to add to the can to get the maximum possible density that will keep the can afloat. First you’ll need to determine the volume of the can and then the combined mass of the can and sand that is needed to get the selected density. Watch the video to get all the details on how to do the measurements and calculations.
You can find the instructions for this Sink or Swim experiment, along with some sample density calculation problems, in my TpT store. Turn this experiment into a challenge activity and give a prize to the person whose can floats lowest in the water.
Density measurements are used in the construction industry for calculating the distribution of weight for buildings, vessels, and other objects. The next time you’re planning a river trip, make sure you choose a raft or boat with the proper density to keep you afloat!
Did you know that you can make ice cream in a bag with just ice, salt and a few other ingredients? Salt is the ingredient that lets you chill the mixture to the right temperature to make a tasty frozen treat. The salt acts to lower the temperature at which a solution freezes. This is known as freezing point depression. You may not be familiar with the term, but you are probably aware that salt is used on icy roads to keep them from freezing in the winter, just like antifreeze is used in cars to prevent radiators from freezing or overheating in extreme weather.
All you need is ice, salt, sugar, and milk or cream to make ice cream in a bag. Spice it up by adding your favourite flavours. Ours was delicious!
Our newest Making YOU the Scientist activity explores the concepts of freezing point depression and phase changes. The freezing point of water is zero degrees celsius. In the first part of the activity you will lower the freezing point of water to below zero degrees celsius using ordinary table salt (sodium chloride). The salt will depress or lower the freezing point of the water.
Freezing point depression is a colligative property of water. Colligative properties are the physical changes that result when a solute is added to a solvent. This experiment uses water as the solvent and salt as the solute. You could also use alcohol or other types of salts to lower the freezing point. Colligative properties do not depend on the type of solute that is added to the solvent, but on how many particles of the solute are added to it.
In the second part of the experiment, you will further explore the phase changes that take place when room temperature water is added to your salty ice water mixture. Phase changes occur when energy is added to or removed from a substance. When energy is removed from a substance, the particles of the substance begin to move more slowly and when the freezing point is reached they will stop moving and the substance will change from a liquid to a solid.
Watch the video to see what happened when we placed a test tube with tap water into our beaker of salty ice water. To further explore the concepts of freezing point depression and phase changes, check out my full write-up for this experiment in my TpT store.
What are work and energy and how are these important concepts related to each other? This is what I ask my eigth grade students at the start of our unit on conservation of energy.
Work is a hard term to define in physics. While sitting quietly and “working” at their desks, students often comment that they have too much “work” to do or that something is a lot of “work”. But unless you are just sitting there pushing your iPad back and forth across the tabletop, chances are you are doing little if no real work. That is because in order to do work in physics a force must be applied to an object to move it through a distance. It doesn’t matter how hard you push on something — if the object does not move, then no work is done.
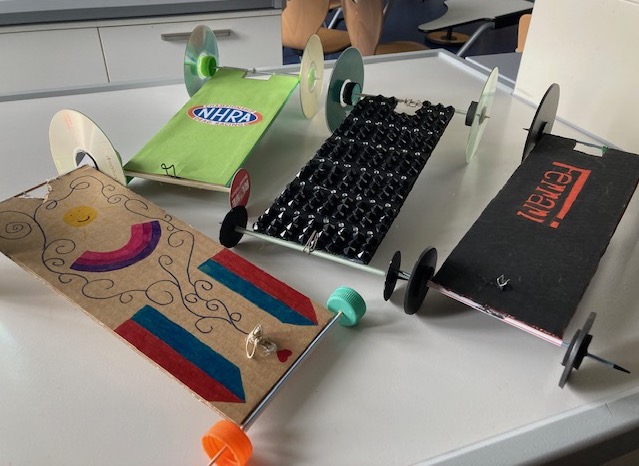
A great way for students to explore the relationship between work and energy is to have them build cars that are powered only by rubberbands. Stretching a rubberband stores energy in it that can later be used to power the car. Besides the basic physics concepts, students must also consider the design and technology elements of their cars. To receive full credit in my class, their car should travel in a straight line for at least 10 meters.
After students build their cars it’s race time. Who can cover 10 meters in the shortest amount of time? To get things started, the rubberbands are wound around the rear axel of each car. In doing so a force is applied over a distance and potential energy is stored in the rubberband. This gives the rubberband the potential to do work. Hold it tight, place it on the floor and away it goes, gaining velocity as potential energy is converted into kinetic energy.
Popsicle stick catapults and spinning cup helicopters are other great activities that help students learn about how energy can be stored in elastic materials and then put to work. Work and energy, you can’t have one without the other.
Need to sort through all that junk in your basement? Why not build an electromagnet to do the job for you. An electromagnet is a special type of magnet that is created when a current flows through a coil of wire. These magnets separate materials that contain iron from those that don’t.
You can build your own electromagnet by watching a demonstration in our latest Making You the Scientist video. A related lab activity from our TpT store helps students investigate the relationship between the number of times a wire is wound around a metal bolt and the strength of the electromagnet. The activity contains detailed instructions and a guide to collecting data, constructing a graph and interpreting the data.
The main advantage of an electromagnet over a permanent magnet is that the strength of the magnetic field can be adjusted by controlling the amount of electric current. Electromagnets are widely used as components of other electrical devices, such as motors, generators, electromechanical solenoids, relays, loudspeakers, hard disks, MRI machines, scientific instruments, and magnetic separation equipment. They are also commonly used for picking up and moving heavy iron objects such as scrap iron and steel.
Even if you don’t have a pressing need for an electromagnet in your home, the process of building and testing one is a great way to experience the scientific process, and will make You the scientist.
Students should develop a love of science by doing science. That’s why Step by Step Science is excited to launch a new series of videos with live experiments and demonstrations that can be done from home, classrooms, or just about anywhere. These are fun activities that are easy to set up and will cover basic aspects of chemistry and physics. Most require materials that you can find in your home or at your local grocery store.
The Density of Liquids Experiment uses water, salt and food colouring to demonstrate what happens when liquids of different densities interact with each other. Find out why the liquids sometimes combine to form a mixture and other times remain separate in this easy, hands on activity. Kids of all ages love this experiment.
All the experiments in this series will be covered in one of my YouTube videos and paired with written instructions and worksheets that guide students through the scientific procedure. You can get the written materials for the Density of Liquids experiment at no cost by following this link to my Teachers Pay Teachers store. And below you can watch the video with the experiment.
Stay tuned for more hands-on experiments that give students the chance to become scientists.
Teachers often look for new ways to incorporate digital technologies into their classrooms. One way to do this is through gamification, which means adapting elements of game-play to learning activities. Gamification has not only become very popular, it is also a proven method of enhancing student knowledge. According to Matthew Lynch with The Tech Edvocate, though many subjects can be gamified, games can be particularly helpful when teaching students science-based lessons.
Before I was even familiar with the term gamification, I was playing Jeopardy with my students to review material before chapter tests. Students loved competing against each other to come up with the right question in response to the ‘answer’ clues on the Jeopardy board. Members of the winning team always received some chocolate or another type of goody.
AMERICA’S FAVORITE QUIZ SHOW
Two of the most popular gamification sites are Kahoot! and Quizizz. Both use a colourful format and music to create a high energy, fun learning environment. Both offer a variety of question types, make it easy to create questions, and allow you to import images and change the time allotted for answering questions. Both also award students more points the faster they answer the questions.
The biggest difference is that in Kahoot the questions and answer choices are projected at the front of the classroom, students choose the answers on their devices, and all students answer the same question at the same time. The advantage to this approach is that after each question the teacher has the option of inserting a teaching moment, a review of the question to clarify how to derive the correct answer.
In Quizizz the questions and answer choices are shown on the students‘ devices and although the questions are also timed, students answer the questions at their own pace. Questions can be randomised so that adjacent students do not have the same question at the same time. The Quizizz user interface has more of a “game show” feel with a constantly changing leader board, player icons that can be personalised, silly memes between questions and power ups that students earn after answering questions correctly. These include the popular 50-50 that removes two incorrect answer choices.
Both assessment apps are fun in their own way. I find that younger students prefer Quizizz with its “corny” features and older students like Kahoot with its more “serious” learning environment. The standard music in Kahoot drives me crazy though.
These fast-paced, high-energy games do not offer the best learning environment for everyone. Students who like to work in a slower, less competitive fashion may enjoy something along the lines of pixel art challenges. A popular Teachers Pay Teachers Store, One for the Books, offers a variety of pixel art challenge options. There is also a free ten minute pixel art challenge for teachers so you can familiarize yourself with how they work. Kesler Science, also on Teachers Pay Teachers, has escape room challenges for a variety of middle and high school science subjects.
Bringing game-play into your teaching is a fun way to engage and motivate students. If you have any great game ideas for teaching science or other subjects, please post a comment below.